

of karipap and dimmer switches...
As with any trip down to KL, wifey and I will stop by that sweedish furniture store. I need to get my fill of karipap and cheap refillable expresso and wifey wanna stuff our car silly with furniture that will leave the car smelling of wood for the next few days.
Anyway, for this trip we managed to get a decorative looking light fixture-ly-thingy. Since it’s price is pretty decent, we thought that we’ll get it for girl girl’s room. Also something to bring up the Christmas mood
I got some free time Sunday afternoon while wifey was sleeping and managed to set it up. Since wifey always complain that I do all these projects when she sleeps and she missed out on all thenagging and bossing me around fun, I captured the step by step sequence of setting up the lights.
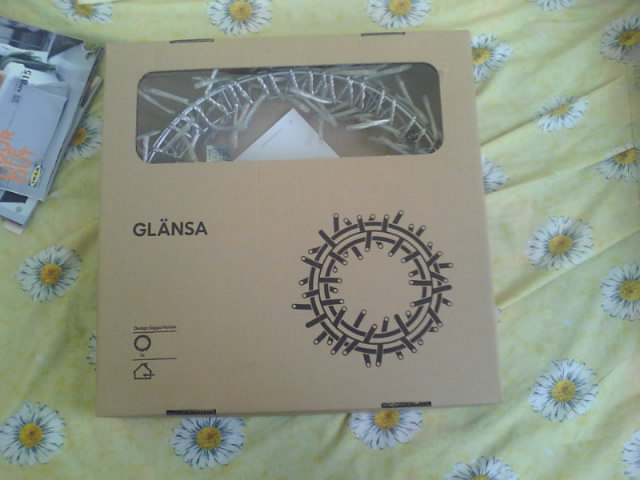
 First of all, take out the goodies. For this project, no special or additional tools are required. All the items needed are there.
 The first part of the process is to get the lights out of the box. For that you need to open the box lid. Do note to not to be overly enthusiastic and yank the lights out of the box.
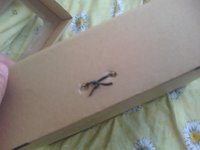 The lights are actually tied to the box with those wire ties. So if you yank it out, then you will either have a torn box or worse, damaged lights. Untie the wire ties. You need to do that for all 4 sides of the box.
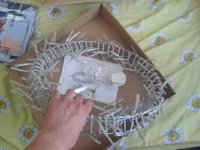 Once you have removed the wire ties, take the lights out from the box.
 Do also note that there is a small package that comes together with the lights. It contains the hanger for you to hang the lights from the wall or ceiling.
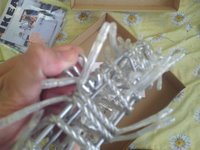
 Remove the contents from the plastic bag. As I mentioned earlier that there is no special tools needed, I have refrained to use a pair of scissors and used my hands instead to open the bag. Not really the best method, but it does give me the feeling of manliness (although not much).
 The hanger should
 look something like a clear colored S&M whip that you might see in a European b flick featuring some guy named Gunther and girl named Ingrid look something like a ring with 3 elastic plastic string with hooks attached to it.
 To hang the lights up (on the wall), take the hanger and use the hooks to hang it to the lights.
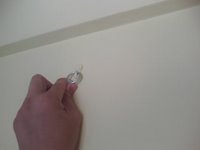 Then remove your wedding photo from the wall hook (photo not included) and take the ring (on the other end of the hanger) to hang the lights on the wall.
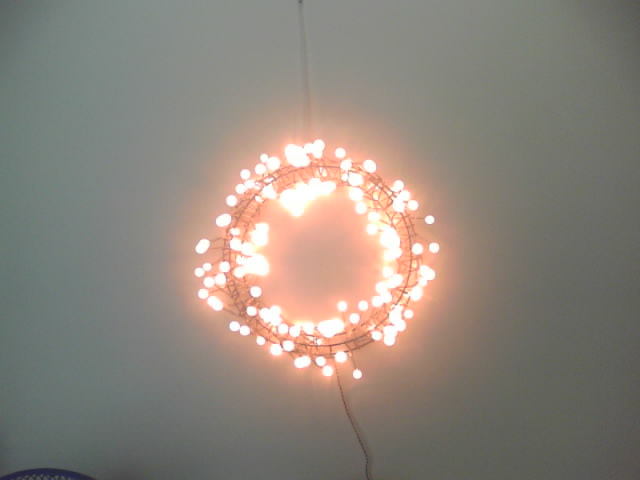
 We are now quite close to completing the setup. Next step is to take the electrical plug and plug it into an available power point.
Switch the power on.
 … and see if there is anything wrong.
As you can see, the lights by itself is a bit bland and mundane (like everything else in this blog…). So I have gone a few extra steps to improve it.
First change that I did was to plug the power through a dimmer instead of going directly into the power socket. This allows me to dim the lights a bit. Since it is a simple step, I won’t document it here.
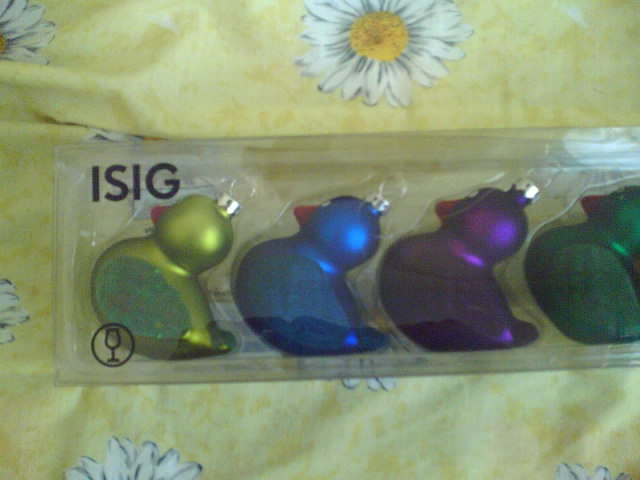
Another addition that I did was the fun one.
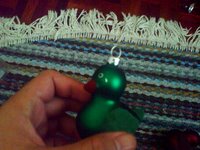
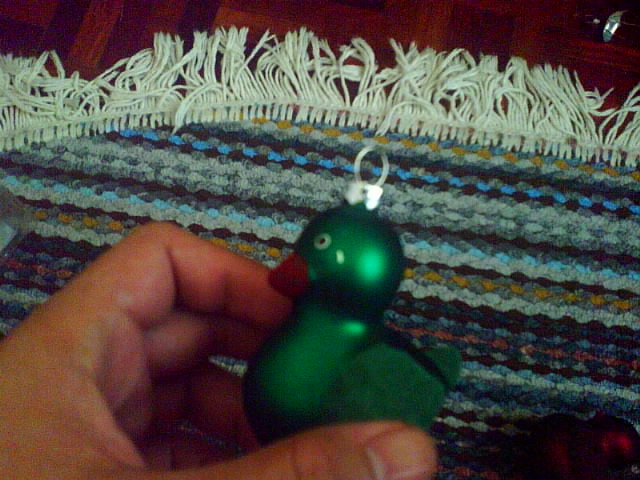
 I got this ornamental duckies thingy* from that same sweedish furniture place. It comes in 6/box and is not cheap.
 I wonder if they are tasty.
 Choose one with the color that you like and hang if from the lights. Then switch the power on and dim the lights accordingly.
Anyway, for this trip we managed to get a decorative looking light fixture-ly-thingy. Since it’s price is pretty decent, we thought that we’ll get it for girl girl’s room. Also something to bring up the Christmas mood
I got some free time Sunday afternoon while wifey was sleeping and managed to set it up. Since wifey always complain that I do all these projects when she sleeps and she missed out on all the
 First of all, take out the goodies. For this project, no special or additional tools are required. All the items needed are there.
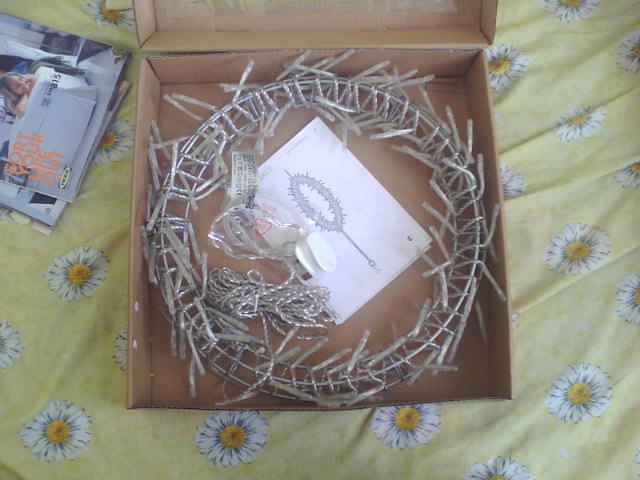 The first part of the process is to get the lights out of the box. For that you need to open the box lid. Do note to not to be overly enthusiastic and yank the lights out of the box.
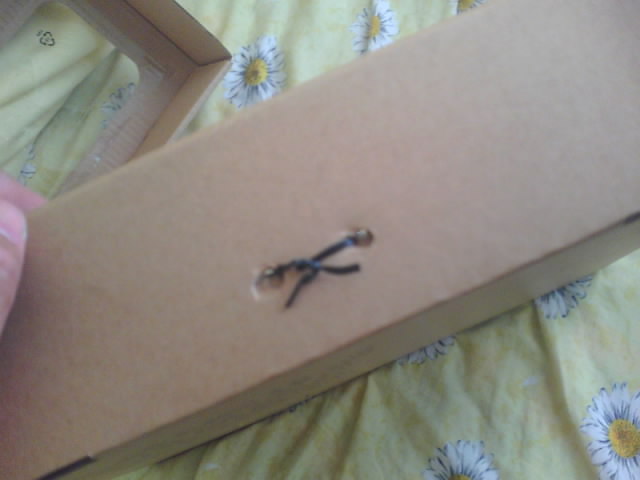 The lights are actually tied to the box with those wire ties. So if you yank it out, then you will either have a torn box or worse, damaged lights. Untie the wire ties. You need to do that for all 4 sides of the box.
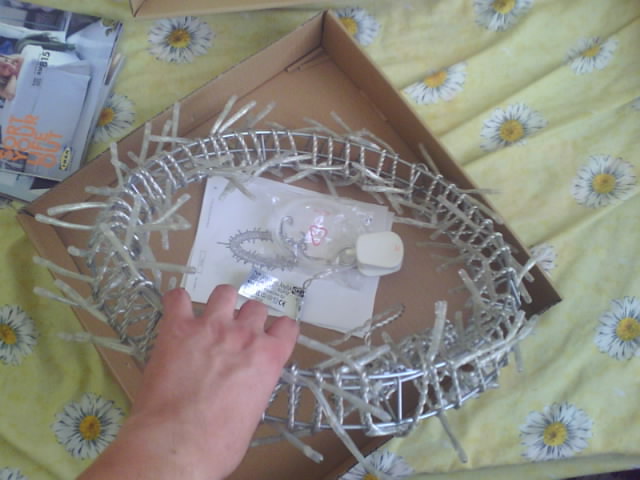 Once you have removed the wire ties, take the lights out from the box.
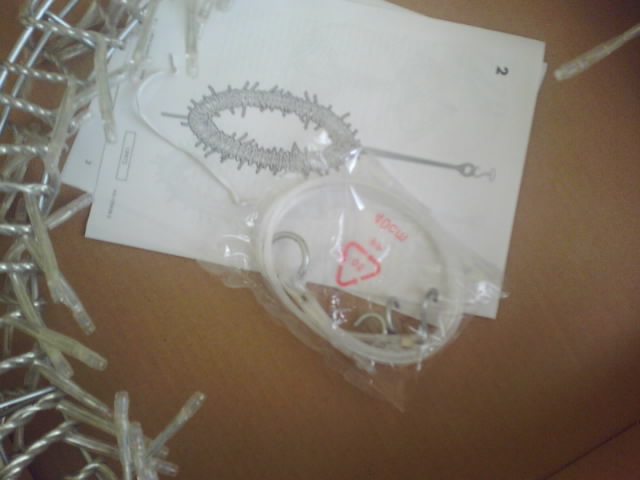 Do also note that there is a small package that comes together with the lights. It contains the hanger for you to hang the lights from the wall or ceiling.
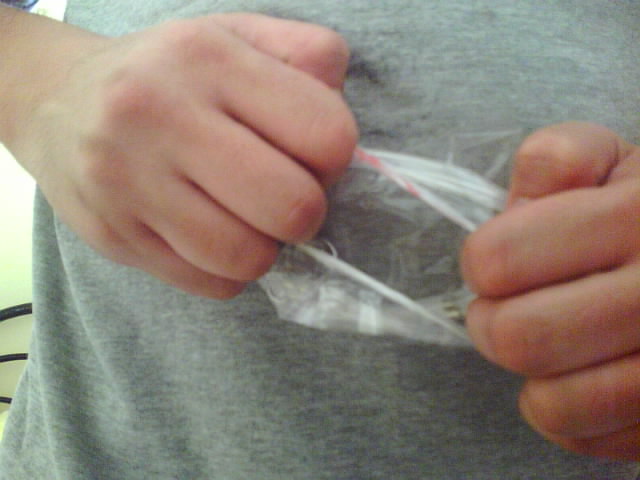 Remove the contents from the plastic bag. As I mentioned earlier that there is no special tools needed, I have refrained to use a pair of scissors and used my hands instead to open the bag. Not really the best method, but it does give me the feeling of manliness (although not much).
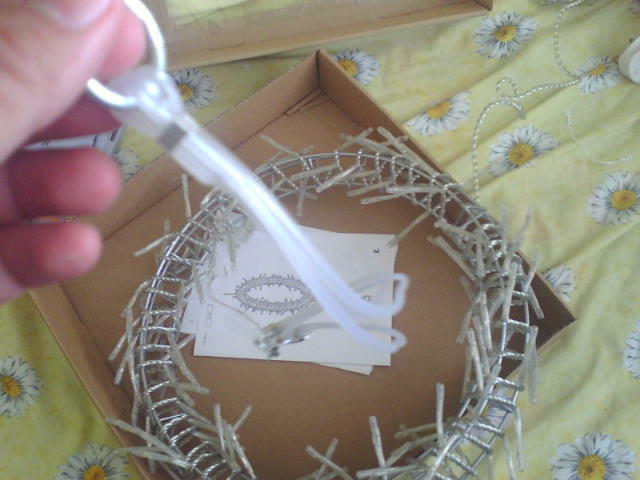 The hanger should
  To hang the lights up (on the wall), take the hanger and use the hooks to hang it to the lights.
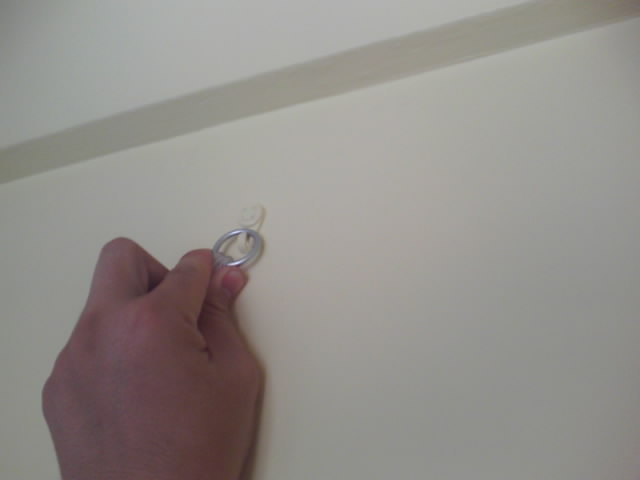 Then remove your wedding photo from the wall hook (photo not included) and take the ring (on the other end of the hanger) to hang the lights on the wall.
 We are now quite close to completing the setup. Next step is to take the electrical plug and plug it into an available power point.
Switch the power on.
 … and see if there is anything wrong.
As you can see, the lights by itself is a bit bland and mundane (like everything else in this blog…). So I have gone a few extra steps to improve it.
First change that I did was to plug the power through a dimmer instead of going directly into the power socket. This allows me to dim the lights a bit. Since it is a simple step, I won’t document it here.
Another addition that I did was the fun one.
 I got this ornamental duckies thingy* from that same sweedish furniture place. It comes in 6/box and is not cheap.
 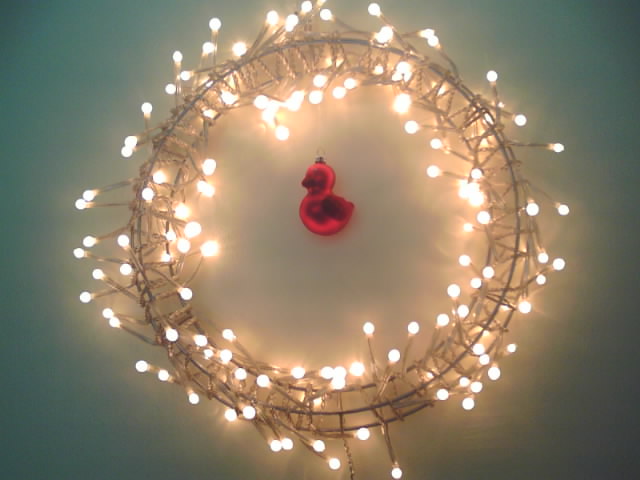 Choose one with the color that you like and hang if from the lights. Then switch the power on and dim the lights accordingly.
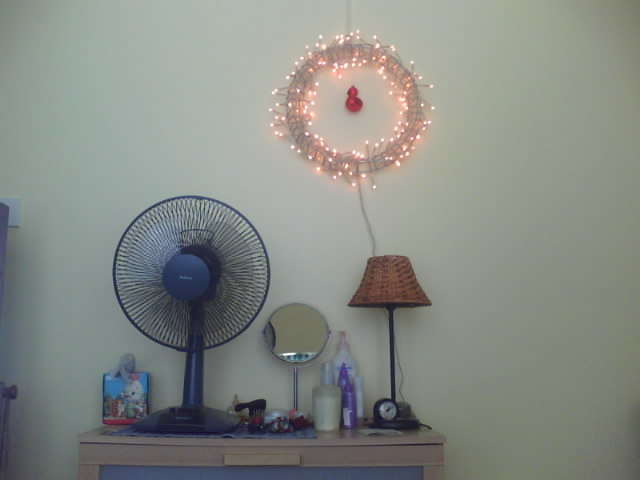
So now, wifey’s make up area looks like this.

Finally, wait for wifey to wake up and enjoy the look of her surprised face when she saw what you have done. (No photos for that one)
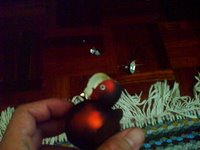
*Please be super duper, extremely careful when opening the box of ornaments. Once you removed the tape that is used to close the cover, the cover will come off very very very easily. Unfortunately, I was not careful enough and this is what happened….
One fatality, (head broken) and one with permanent superficial wound… sad indeed…

posted by Duckie at
11:55 AM
![]()
